Most camera systems fail for one simple reason: the installer aimed a lens at a door and called it “covered.” A working CCTV setup is less about the number of cameras and more about whether each camera captures the right details, at the right angle, with the right lighting, and recordings you can actually retrieve.
This comprehensive CCTV installation guide walks through the real decisions that shape results - camera placement, cabling, recorder setup, remote viewing, and the final testing that separates “it turns on” from “it protects you.” It’s written for homeowners, small businesses, and property managers who want a clean, reliable system without getting buried in jargon.
Start with outcomes, not camera count
A good design begins with what you need to prove on video. “See what happened” is different from “identify a face,” and both are different from “read a license plate.” If your main risk is package theft, you care about faces and hands close to a porch. If it’s after-hours vandalism, you care about approaches, fences, gates, and choke points. For a retail shop, the priorities might be register activity, back-room access, and clear views of entry and exit.
Before you buy anything, sketch your property and mark three things: the places someone can enter, the places they can loiter unseen, and the areas where lighting changes sharply (bright sun to shade, parking lot lights at night, storefront glass). Those spots are where camera specs and placement matter most.
Walk the site like an installer would
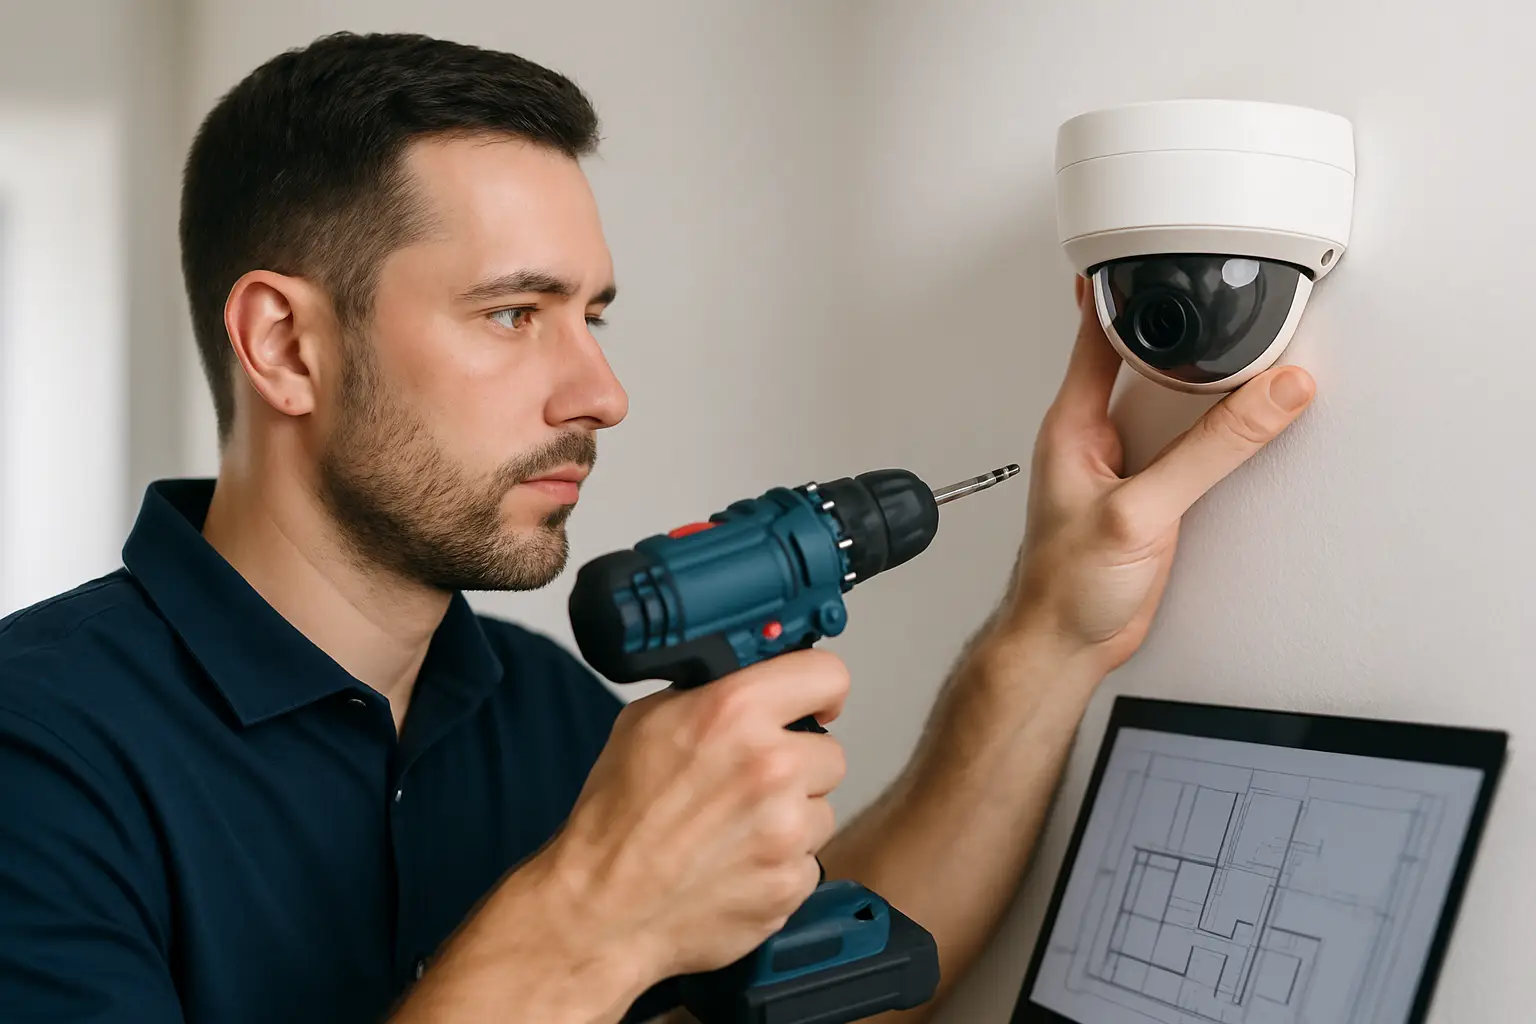
A quick walkthrough saves expensive rework. Indoors, note ceiling height, reflective surfaces, and whether you’ll mount to drywall, masonry, or a drop ceiling grid. Outdoors, look at soffits, eaves, and the easiest path for cable to reach a secure interior location.
Pay attention to where you can actually run wire cleanly. Many “easy” camera locations become messy once you realize the only route requires exposed conduit across a visible wall. You’re balancing coverage and aesthetics, especially for homes and customer-facing businesses.
If you’re planning a wired system, identify a central spot for the NVR (network video recorder) that is (1) protected, (2) ventilated, and (3) close to your network equipment. A locked utility room, IT closet, or secured office cabinet typically beats an open shelf in a back room.
Choose the right type of system for your property
Most modern CCTV installs are IP-based systems that use network cameras and an NVR. They’re popular because they scale well, support higher resolution (including 4K), and work cleanly with remote access.
There are trade-offs. Wired PoE (Power over Ethernet) cameras are the go-to for reliability because one Ethernet cable carries both power and data, and the NVR can keep recording even if the internet goes down. Wireless cameras can be useful where cabling is truly impossible, but they bring more variables - Wi-Fi coverage, interference, and power management.
If you want fewer headaches and better evidence, a wired PoE NVR system is usually the right answer for both homes and businesses.
Camera selection: what matters and what’s marketing
Resolution is important, but it’s not the only factor. 4K cameras can capture more detail, but only if the camera is positioned correctly and the scene isn’t overwhelmed by darkness or glare.
Here’s what typically matters in the real world:
First, lens and field of view. A wide view covers more area but makes faces smaller. A narrower view captures better detail but covers less. Many properties need a mix, not a one-size-fits-all camera.
Second, low-light performance. Look for cameras with strong infrared night vision and good sensor performance. If the area is truly dark and you need color at night, consider a camera that supports additional lighting or advanced low-light modes.
Third, dynamic range (often listed as WDR). This is the difference between seeing a face under an overhang and seeing only a silhouette because the background is bright. For front doors, storefront windows, and garage entries, WDR is not optional.
Finally, durability. Outdoor cameras should be weather-rated and mounted in a way that prevents water intrusion at the cable connection.
Coverage planning: place cameras to capture usable evidence
A common mistake is mounting cameras too high. Higher feels safer, but it often produces top-of-head footage that’s hard to use. You want a height that balances protection from tampering with a clear angle on faces.
For entry points, prioritize a straight-on or slightly angled face capture, not a steep downward view. For driveways and parking, think about the direction of travel and where headlights will hit the lens at night. For side yards, narrow corridors, and gates, you’re usually better off aiming along the path rather than across it.
Also plan for “handoff.” If someone walks from the street to the door, you want continuous coverage without a dead zone between cameras. This is where custom design matters - two homes on the same street can need completely different angles based on landscaping, fences, and lighting.
Cabling and power: keep it clean and dependable
If you’re running PoE, use quality Ethernet cable and plan your routes. Avoid tight bends, avoid pinching cable under doors or window frames, and keep cable away from high-voltage lines when possible to reduce interference. For outdoor runs, use exterior-rated cable or protect the run in conduit.
Inside, aim for clean cable management. A neat install isn’t just about appearance - it prevents snags, accidental unplugging, and troubleshooting nightmares later.
If you’re using an NVR with built-in PoE ports, cable runs usually go directly from each camera back to the NVR. If you’re using a PoE switch instead, your network layout needs a little more planning, but it can be useful for larger properties.
NVR setup: storage, retention, and reliability
The NVR is the heart of the system. Set it up like you expect to need footage under pressure - because you probably will.
Start with storage planning. Retention depends on camera count, resolution, frame rate, and whether you record continuously or on motion. Continuous recording is best for businesses that need accountability and complete timelines. Motion recording can work well for homes, but it depends on motion settings that must be tuned carefully (windy trees and busy streets can trigger constant recordings).
A practical approach is to choose a retention target first - for example, 10 to 30 days depending on your risk and policies - then size storage accordingly. It’s also smart to enable overwrite, so the system doesn’t stop recording when the drive fills.
Place the NVR on a battery backup if possible. Short power blips are common and can corrupt recordings or reboot equipment at the worst time.
Network and remote access: keep it simple and secure
Remote viewing is one of the biggest reasons people upgrade their systems. It’s also where DIY installs get into trouble.
You want secure, app-based access that does not require exposing your recorder directly to the internet. Keep the NVR on a stable network connection, use strong unique passwords, and enable two-factor authentication if your system supports it.
Also think about who needs access. A homeowner might want two phones and a tablet. A business might need an owner, a manager, and a trusted backup. Set user accounts with appropriate permissions so not everyone has full control.
If your internet goes down, a properly installed NVR should keep recording locally. Remote viewing will return when the connection is restored.
Configure the details that make footage useful
After installation, spend time in settings. This is where a system becomes easy to use.
Set correct time and time zone, then confirm daylight saving behavior. If your timestamps are wrong, footage becomes harder to use for police reports, insurance claims, or internal investigations.
Adjust motion detection zones. Exclude busy roads, swaying trees, and reflective surfaces. For businesses, consider alerts only where you truly need them - back doors after hours, a side gate, or a server closet.
Set recording schedules. Many businesses want 24/7 recording at critical points like entrances and registers, with motion-based recording in low-risk areas.
Test like you’re trying to disprove the system
The final step is not “does it show a picture.” It’s proof testing.
Walk the paths a person would take and review the footage. Can you identify a face at the front door? Can you see hands at a package drop? Can you tell what someone is carrying through a side gate? At night, can you see details without the scene washing out from headlights or a porch light?
Also test retrieval. Pull a clip from yesterday, export it, and play it back on another device. This matters more than people think - when you need video, you need it quickly, in a format that works.
If you find a weak spot, fix it now. Sometimes the solution is a small angle change. Other times you need a different lens, better lighting, or an additional camera to eliminate a blind zone.
When professional installation is the smarter move
DIY can work for small, simple layouts. But if you have a larger home, a business with multiple entrances, or a property where clean cabling matters, professional design and installation can save money in the long run.
The biggest value is usually the layout planning and the finish - camera positioning for evidence, clean cable runs, correctly sized storage, and a handoff that leaves you confident using the system. If you’re in the Sacramento area and want a system designed around your property and supported after install, StaySafe365 is built for exactly that.
Security cameras are only as good as the moment you need them - so if something feels “almost covered,” treat that as a sign to adjust the plan now, while it’s still easy to fix.